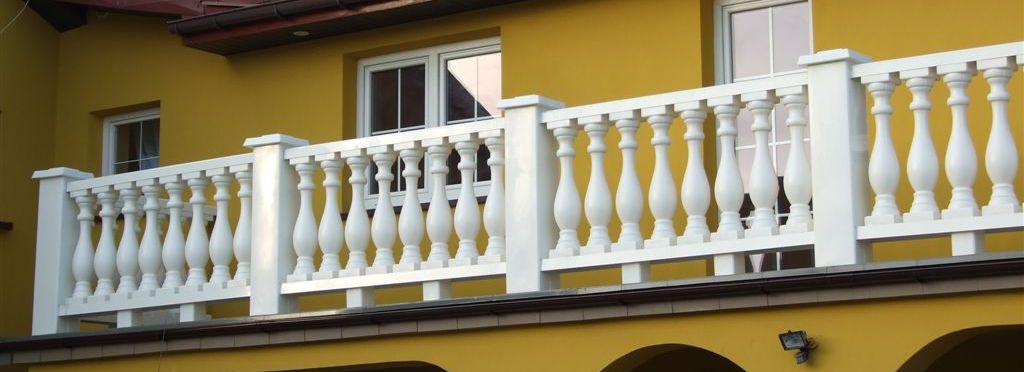
Installation instructions for Greek rails
- Arrange and screw on four Ø10 dowels to the ground of the balcony/terrace risers. (It is important to position the risers exactly according to the level).
- We put one handle (the smaller one) on the risers. We lower it to the very bottom and tighten it
- Apply the post with screws upwards
- Insert the second riser holder (larger) into the post
- Place balusters between the posts and line them up at equal intervals.
- Use a pencil to trace the place where the baluster stands.
- Turn the baluster over and apply 4-5 piles of FIX ALL high tack glue to the stainless steel plate that is screwed to the underside of the baluster.
- Turn the baluster over and set it in the previously mapped location. Once the baluster is glued, it can no longer be detached. If necessary, clean the glue and repeat the operation.
- After gluing all balusters, it is advisable to wait for the glue to dry.
- Cut the bottom piece of the handrail
- Cut the lower pieces of the handrail about 3cm longer than the span has, so that the sides are screwed to the post/wall. Bend the ends upwards.
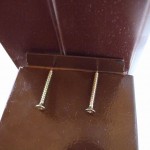
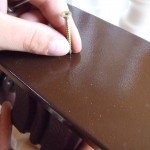
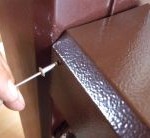
- Screw the ends of the lower part of the railing through the post to the top riser bracket with Ø5 screws and to each baluster with two Ø4.5 screws
- Cut the top piece of the upper handrail and apply it to the span. (Fit exactly)
- Rivet at the ends of the handrail the top piece with the bottom rivet Ø4
- Apply the canopies. The canopy must jump over the screws with half-round heads.
This website uses cookies
Strona ogrodzenia-plastikowe.pl korzysta z plików tymczasowych (tzw. ciasteczka) w celach statystycznych i poprawy obsługi gości.Akceptuję Reject Cookies & Polityka prywatności


Zostaw komentarz